Getting started with Spotter
Learn how to get up and running with Spotter.
Prerequisites
-
To use ThoughtSpot Spotter, you must have a user account. To sign up for a trial of ThoughtSpot Spotter, go to the Spotter trial sign-up page. Once your user account is created, you will receive an email inviting you activate your AI analyst account.
-
To use your own data, you must have your data stored in one of the supported cloud data warehouses. For a list of supported cloud data warehouses, see Adding data sources in Spotter.
When you sign in to Spotter for the first time, you will have access to built-in datasets which you can use to try out Spotter. To connect Spotter to your own data, you must book a call with ThoughtSpot to add your own data. For details, see Next steps.
First-time setup
To start using Spotter for the first time, do the following:
-
In the Activate your AI Analyst Account email from ThoughtSpot, click Activate Spotter.
-
In your web browser, the Welcome to ThoughtSpot Spotter page appears.
-
Create your Spotter password by doing the following:
-
Enter your business email address.
-
Create a password.
-
Confirm your password.
-
Click Start Now.
The Intro to Spotter page appears, where you can watch a video about how Spotter works.
-
-
When you are finished, click Done.
The Meet Spotter page appears.
Trying out Spotter
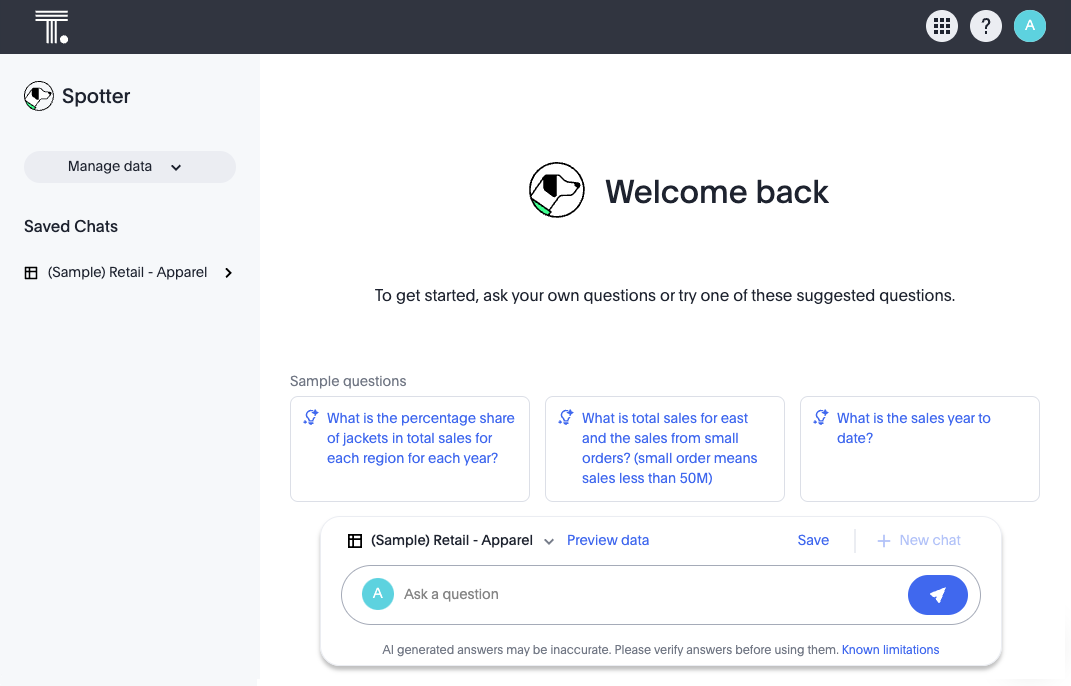
When you sign in to Spotter for the first time, you see the chat interface at the bottom of the page, with sample prompts above it. You can click one of the sample prompts to ask that question, or you can enter your own question.
By default, Spotter includes the following datasets which you can use to practice asking questions:
-
Apparel Retail
-
PetSpot
-
Hockey Store - Web Marketing
-
Support Ops
To use chat in Spotter, do the following:
-
Choose the dataset you want to use, by selecting it from the menu above the chat field.
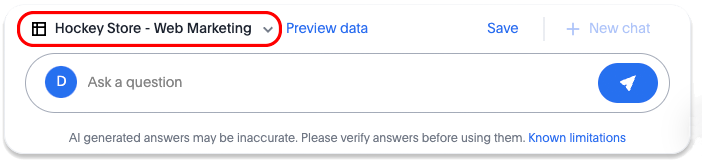
To help you formulate a question to ask, you can see a sample from the dataset itself by clicking Preview data. -
Enter a question in the chat field, and click the submit button
 .
.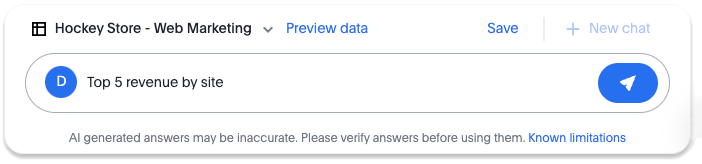
Spotter provides an AI-generated answer to the question.
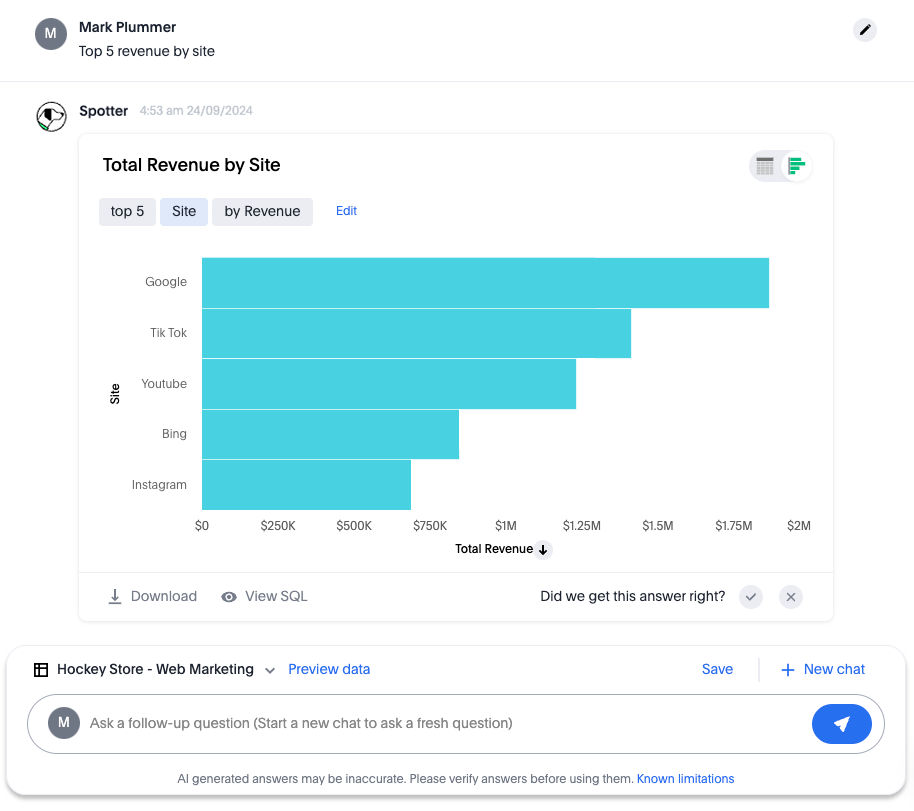
You can do the following things with the AI-generated answer:
-
To make changes to the answer, click Edit next to the search tokens.
-
To switch between chart and table view, click the table/chart toggle button
 .
. -
To download the answer in PNG, XLSX, or CSV format, click Download.
-
To view the SQL query used to generate the answer, click View SQL.
-
To let Spotter know if it got the answer right, do the following:
-
To approve, click the check mark
 .
. -
To reject, click the X
 .
.
-
-
To save the history of your chat, click the Save link above the search field. After you save your chat once, each additional question you ask, and the answer, are saved automatically. You can access them later in the Saved insights section of the Spotter page.
-
To start a new chat, click + New.
You can continue to ask as many follow-up questions as you want.
-
Next steps
Now that you’ve tried out Spotter, you’re ready to add your own data source and start using Spotter to get answers from your data.
To add you first data source, you must contact ThoughtSpot for assistance. To contact ThoughtSpot, do the following:
-
Click the app switcher menu
 and then click Spotter.
 -
Click Manage data in the upper left.
You are prompted to book a call to add your data, invite teammates, and more.
-
Click Book a call.
-
In the Contact ThoughtSpot window, enter your business email address, which region you’re in, and the Cloud data platform you use.
-
Click Submit.
ThoughtSpot will contact you to arrange a time to meet with you to add your data source for use with Spotter.
After your first data source is added, you will be able to add additional ones yourself. For details on adding data sources, see Adding data sources in Spotter.


