Managing groups in a single-tenant environment
Manage user groups in ThoughtSpot.
Before people can sign in and use ThoughtSpot, you need to create a username, a password, and a membership in one or more groups for them. Use the Admin Console to easily create and manage your user groups.
|
This article contains instructions for managing groups in a single tenant environment. If you do not have an Org switcher between the help icon and the Search answers and Liveboards search box, your company is in a single tenant environment. If your company uses the Orgs feature for multi-tenancy in ThoughtSpot, you can see an Org switcher to the left of the help icon in the top navigation bar. Refer to Managing groups in a multi-tenant environment. |
Refer to Understand groups and privileges to learn about the privileges you can assign to a user or group.
To manage groups,
-
Make sure you are in the Primary Org.
-
Navigate to Admin settings > All orgs.
-
Select Groups from the side navigation bar that appears.
Use the Admin Console to accomplish the following tasks:
-
Create a group by selecting the Create group button
-
Manage an existing group by selecting the group you would like to edit: add an existing group to the group, add a user to the group, modify the group’s privileges, or resend or test the welcome email
-
Delete a group by hovering over a group name, clicking the checkbox that appears, and selecting the Delete button
You can now import and export users, groups, and roles using TML. Use this feature to facilitate migration from cluster to cluster or org to org. You can use this feature to migrate complex user configurations from ThoughtSpot Pro to ThoughtSpot Essentials while minimizing errors and redundancy.
| Import and export of roles is only applicable to clusters with RBAC enabled. |
Export a group using TML
To export a group using TML, do the following:
-
Make sure you are in the Primary Org.
-
Navigate to Admin settings > All orgs.
-
Select Groups from the side navigation bar that appears.
-
From the More options menu, select Export.
-
Alternatively, you can select multiple groups by selecting the checkbox next to the groups you want to export and click the Export button.
The selected groups are exported as a TML file.
Import a group using TML
To import a group using TML, do the following:
-
Make sure you are in the Primary Org.
-
Navigate to Admin settings > All orgs.
-
Select Groups from the side navigation bar that appears.
-
Click the Import group button.
-
On the Import group page, select the .tml file for the group that you want to import.
-
On the Import page, select the group file that you want to import and click the Import button.
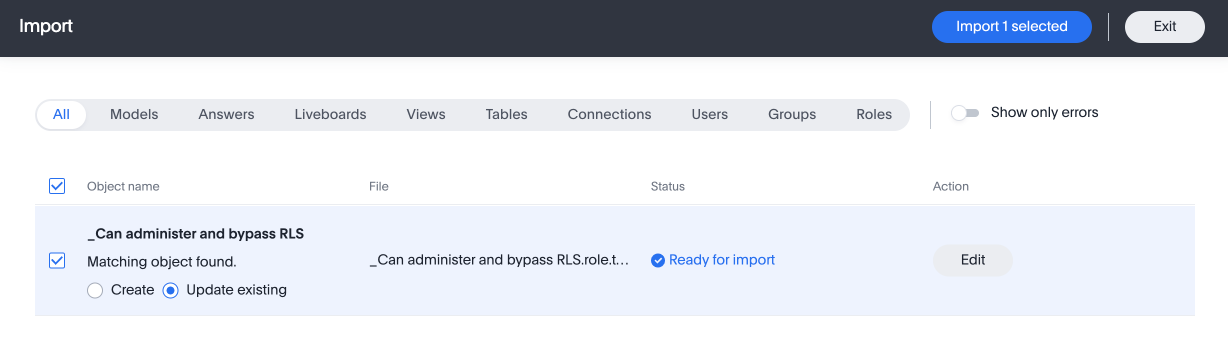
The Import Status page appears with the status of your import.
Related information
Refer to Create, edit, or delete a group for more detail on how to create and manage groups.