Add a filter to a Model
You can add filters to a Model to limit the data it contains. This is useful when you have underlying tables that store more data than is necessary for the types of analyses the Model is intended for. You can also use Model filters to provide data security, when you want different groups of users to be able to see different data without relying on row-level security.
To add a filter to a Model:
-
Go to the Data workspace tab.
-
Select Data objects.
-
Select Models.
-
Find your Model, and select its name.
-
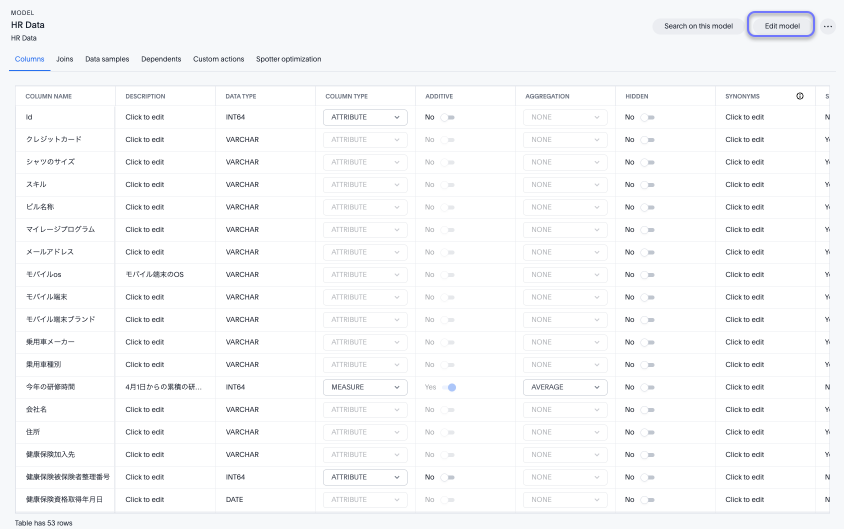
Select the Edit model button.
-
Select Filters from the top menu.

-
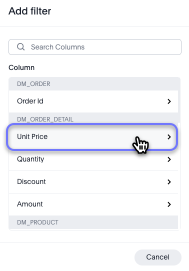
Click Add filter. The Add filter window appears.
-
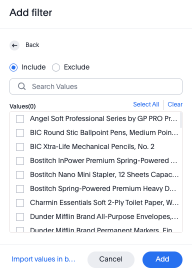
Choose the column you want to filter on. If you choose a measure column, you can choose to set the filter as
greater than,greater than or equal to,less than,less than or equal to,between,between (excluded),between (include Min),between (include Max),in, ornot in, a numeric value or set of numeric values.If you choose an attribute column, you can choose to include or exclude a set of attribute values such as product names.
If there are too many values, you can use the filter search bar to find the ones you want.
-
Select Add.